Ever thought about making summer sausage at home? It’s better than what you buy in stores. I’m going to show you a recipe that will wow your guests. This sausage is easy to make and doesn’t need a casing.
It’s great for parties, holidays, or just a quick snack. And the best part? It’s made with ground beef, Morton Tender Quick Meat Cure, and spices.
Table of Contents
Key Takeaways
- Homemade summer sausage is superior to store-bought options.
- This recipe requires no casing and is perfect for various occasions.
- The sausage is made with ground beef, Morton Tender Quick Meat Cure, and a blend of spices.
- The sausage can be served as an appetizer with cheese and crackers or enjoyed as a simple snack.
Understanding Summer Sausage Basics
Summer sausage is a special type of cured meat. It can be stored without refrigeration. This makes it great for outdoor activities and cooking at home.
What Makes Summer Sausage Unique
Summer sausage is made from meat, fat, and salt mixed together. It’s kneaded until it sticks. This makes it strong.
The curing process uses special salts and seasonings. It keeps the sausage safe from bad bacteria. This way, it can be stored for a long time without refrigeration.
Benefits of Making It at Home
When you make summer sausage at home, you control everything. You can pick the ingredients and seasonings. This lets you make something special that fits your taste and diet.
Homemade summer sausage is also fresher and of better quality. It’s hard to find this in store-bought versions.
Essential Ingredients for Homemade Summer Sausage
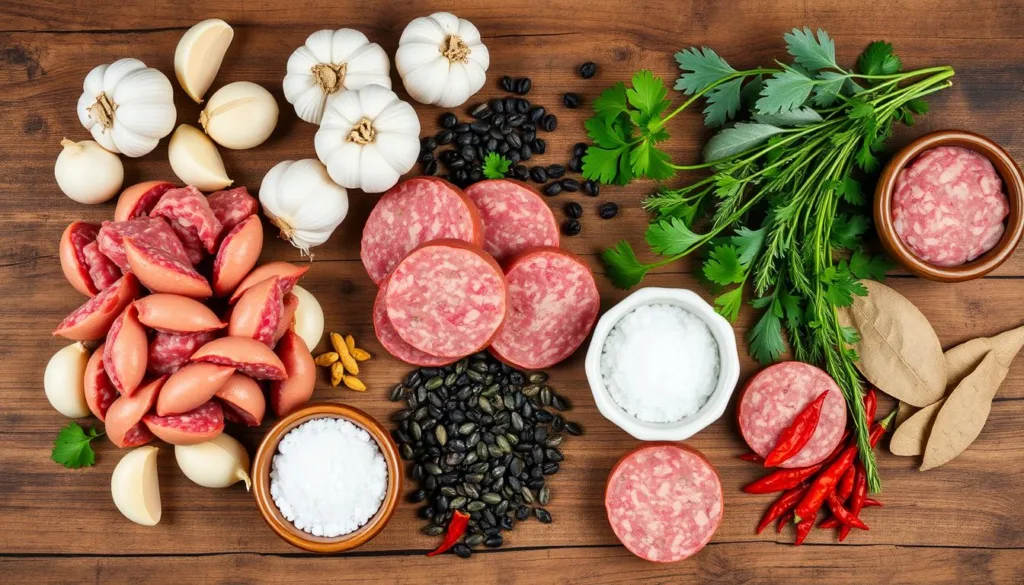
Making the perfect homemade summer sausage needs the right mix of ingredients. Summer sausage is a favorite cured meat loved all year. It’s made with ground beef, best with 80/20 to 70/30 fat.
Other key parts add flavor and texture. Morton Tender Quick Meat Cure gives it saltiness and curing. Garlic powder, mustard seed, and coarse ground peppercorns add depth. A bit of liquid smoke gives it a smoky smell.
Water and sugar are also in the mix. Sugar balances the flavors and helps the sausage brown during cooking.
| Ingredient | Quantity |
|---|---|
| Ground Beef (80/20 or 70/30 fat content) | 4 lbs |
| Morton Tender Quick Meat Cure | 2 tbsp |
| Garlic Powder | 1/2 tsp |
| Mustard Seed | 1 tbsp |
| Coarse Ground Black Pepper | 2-3 tsp |
| Liquid Smoke | 1 tbsp |
| Sugar | 1 tbsp |
| Water | As needed |
With these ingredients in the right amounts, you’ll make great homemade summer sausage. It’s perfect for snacks, charcuterie boards, or gifts.
Selecting the Right Meat for Your Sausage
Choosing the right meat is key for perfect summer sausage. The right cuts and fat content are important. They affect the texture, flavor, and quality of your sausage.
As a sausage lover, I’ve found the secret is balance. You need lean protein and just the right fat.
Best Cuts of Beef to Use
Beef chuck or beef round are the best choices. They have great flavor and the right fat. This fat helps the sausage stay together.
Don’t use too lean cuts. They can make the sausage dry and crumbly. You want meat that’s tender and juicy, with the right fat.
Ideal Fat Content Ratios
The fat content should be between 20% to 25%. This makes the sausage moist and has the right texture. Remember, the fat content changes with different meats.
So, it’s important to watch the ratios and adjust as needed.
Required Equipment and Tools
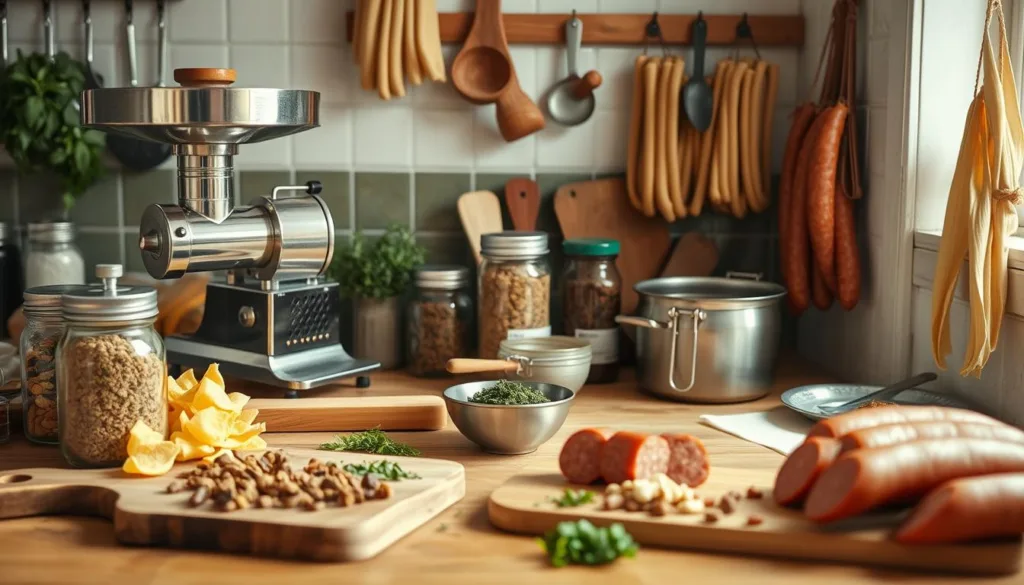
Making delicious summer sausage at home needs the right tools. As a home sausage maker, I’ve found that certain tools are key. Let’s look at what you need for your sausage making journey.
A good sausage grinder is essential. For small batches, a KitchenAid attachment works well. But for more, a commercial-grade grinder is better. It ensures your meat is ground evenly, which is important for texture.
You also need a sausage stuffer, different from the grinder. It helps pack the meat into casings, making perfect links. Choose a strong model that can handle stuffing without damaging your sausage.
- Natural casings for a real touch and better taste
- A sausage pricker or large needle to remove air pockets
- A rack or hanger for drying and smoking your sausage
- A spice grinder for fresh spices
With these sausage making equipment and charcuterie tools, you’re ready to make great summer sausage. Remember, the right tools and attention to detail are key to making delicious homemade sausage.
The Role of Curing Salts and Seasonings
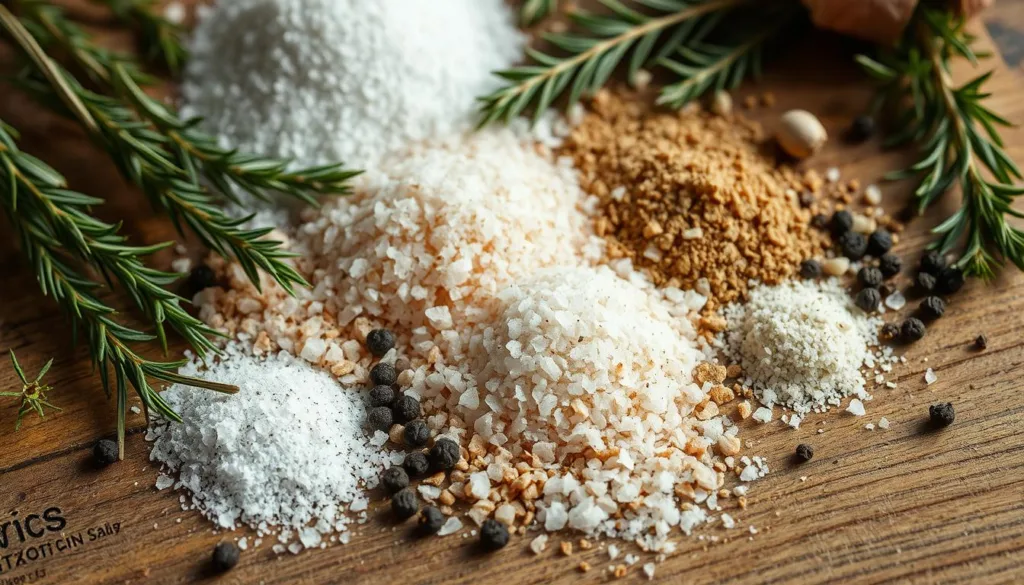
Making perfect summer sausage at home needs a mix of curing salts and special seasonings. Morton Tender Quick is key. It’s important for safety and flavor.
Understanding Morton Tender Quick
Morton Tender Quick is a curing salt with sodium nitrite. This stops bad bacteria like listeria and botulism. It makes the sausage safe and gives it a pink color and flavor.
Essential Spice Blend Components
The seasoning mix also has other spices. These include:
- Garlic powder for a strong taste
- Mustard seed for a slight peppery taste
- Coarse ground peppercorns for depth
The spice mix can be changed to taste. But keep the salt between 1% to 2% of the meat and fat. This balances flavor and keeps it fresh.
Knowing how curing salts and seasonings work can make your summer sausage better. With these tips, you’ll make a sausage that everyone will love.
Proper Meat Preparation Techniques
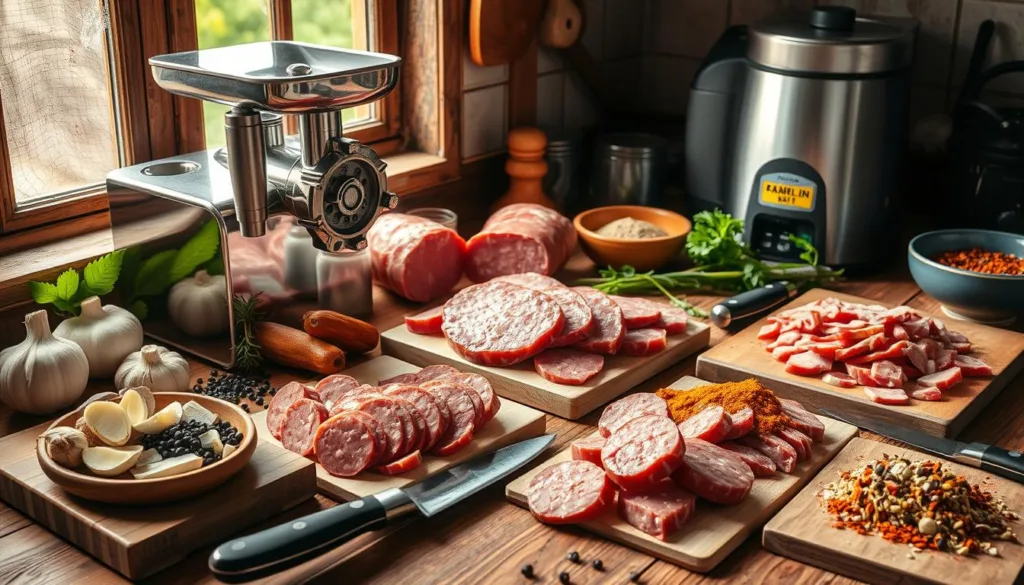
Making the perfect summer sausage at home starts with meat preparation. It’s key to get the right texture and flavor. Let’s look at the important steps for meat preparation.
First, grind the meat twice for a better texture. This breaks down meat fibers, making the sausage smoother. Keep the meat and fat cold to keep the texture right.
- Grind the meat twice through a fine grind plate, typically around 3/16 inches.
- Keep the meat and fat chilled during the entire grinding and mixing process.
- Avoid using previously rendered fat or lard, as they can impart an undesirable flavor.
By following these steps, you’ll make a summer sausage that looks great and tastes amazing.
Mixing and Seasoning Process

Making homemade summer sausage is all about the right mix and careful mixing. The secret to the perfect sausage is in how you mix it.
Mix all the ingredients in a bowl. This includes meat, fat, curing salts, and seasonings. Use your hands to knead the mix for 3 to 5 minutes. This makes the ingredients stick together and gives the sausage a nice texture.
Achieving the Right Consistency
Mixing the sausage right is key to its texture. If you mix too much, it gets tough. Mix too little, and it falls apart. You want it to be sticky but hold its shape.
Temperature Control Tips
Keeping the mix cold is important. Warmth can make the fat melt and ruin the texture. Chill the mix for at least 8 hours. This lets the flavors blend and the sausage firm up.
By using these sausage mixing and seasoning techniques, you can make great summer sausage at home.
| Ingredient | Ratio |
|---|---|
| Wild Game Meat | 8 lbs |
| Fat | 2 lbs |
| Carolina Reaper Pepper | 1 tsp (1 pepper per 3.33 lbs of meat) |
| Pediococcus Culture | 3/8 tsp (for 10 lbs of sausage) |
| Dextrose | 3 tsp (for 10 lbs of sausage) |
| Water | 3/4 cup (for 10 lbs of sausage) |
The Art of Summer Sausage Formation
Making the perfect summer sausage is an art. It needs precision and patience. After chilling, it’s time to form the sausage.
First, knead the meat mix for about 3 minutes. This spreads the seasonings evenly. Then, divide the meat into four pieces using a kitchen scale. Roll each piece into a 9-inch log for a uniform size.
Place the sausage logs on a baking pan with a rack. This helps with even airflow and curing. Handle the sausages gently to keep the texture right.
- Knead the meat mixture for 3 minutes to evenly distribute the seasonings
- Divide the meat into four equal pieces using a kitchen scale
- Roll each piece into a 9-inch log, creating a uniform shape
- Place the sausage logs onto a baking pan with a rack for even airflow
The art of forming summer sausage is key. It prepares the sausages for curing and drying. This ensures a tasty and beautiful final product.
Critical Curing Time and Temperature
Proper curing is key for a rich flavor and firm texture in homemade summer sausage. The curing process has two important rest periods. These are vital for both food safety and taste.
First Rest Period Guidelines
After stuffing the sausage, it needs 8 hours in the fridge for the first rest. This time, the sausage starts to set and flavors blend. It’s important to keep the fridge at 35°F to 40°F to stop bacteria growth.
Second Rest Period Requirements
After the first 8 hours, the sausage needs 16 more hours in the fridge. This second rest lets flavors deepen and texture firm up. Keeping the fridge at 35°F to 40°F is also key during this time.
Following these exact curing times and temperatures is vital. It makes your homemade summer sausage both tasty and safe. The effort you put in during this stage will make your final product amazing.
Smoking Techniques for Perfect Results
While traditional smoking isn’t used in this smoked sausage recipe, liquid smoke provides a similar flavor. For those with smokers, keep the temperature around 200°F (93°C). Smoke until the internal temperature hits 160°F (71°C). This can take about 6-8 hours to cook the artisanal sausages perfectly.
To get the best smoke-infused summer sausage, follow these steps:
- Dry the sausages at 140-150°F for one hour. This helps even out the smoke color and makes the surface ready for smoke.
- Smoke the sausages at about 170°F. Keep the damper half open to light the sawdust or wood chips right.
- Cook the sausages at 180-190°F until they hit an internal temperature of 165°F.
- After smoking, cool the sausages in cold water. Then, refrigerate them.
- If you won’t eat them in two weeks, wrap and freeze them for longer storage.
| Smoking Time | Internal Temperature | Storage Life | Nutrition |
|---|---|---|---|
| 6-8 hours at 180°F | 160°F | 2 weeks refrigerated, several months frozen | 253 calories, 21g protein, 17g fat, 2g carbs, 1241mg sodium |
By using these smoking techniques, you can make delicious smoked sausages. They will impress your family and friends. Enjoy the smoky flavor and the pride of making your own sausages at home.
Alternative Cooking Methods
There are many ways to cook homemade summer sausage, not just smoking. Let’s look at oven-baking and using liquid smoke. Both methods can make your sausage taste great.
Oven-Baking Instructions
Oven-baking is easy if you don’t have a smoker. Set your oven to 200°F (93°C). Place the sausage logs in the oven, uncovered, for 8 hours. This method makes the sausage brown and juicy inside.
But, oven-baking might not make the casing as crispy as smoking. The oven’s heat doesn’t caramelize the surface as well.
Using Liquid Smoke Effectively
Liquid smoke is great for adding smoky flavor without smoking. Add it when mixing the sausage. Start with 1 teaspoon for every 3 pounds of meat. You can adjust to taste.
Using liquid smoke lets you enjoy smoky sausage without special equipment. It’s quick and easy.
Whether you bake, use liquid smoke, or both, you can make tasty summer sausage.
| Cooking Method | Cooking Time | Key Outcomes |
|---|---|---|
| Oven-Baking | 8 hours at 200°F (93°C) |
|
| Liquid Smoke | Added during mixing process |
|
Testing for Doneness and Safety
When making homemade summer sausage, food safety is key. You must check if your sausage is cooked right. This ensures it tastes great and is safe to eat.
Use a meat thermometer to check your sausage’s internal temperature. The safe temperature for summer sausage is 160°F (71°C). This kills harmful bacteria, which is important when using ground meats.
- Salmonella bacteria start dying around 126°F (52°C), but higher sustained temperatures are required to eliminate them completely.
- Achieving a 10 million times reduction in bacteria can be done by cooking the sausage to 158°F (70°C) immediately or cooking to 145°F (63°C) and resting for 4 minutes or longer.
- Maintaining an internal temperature of 135°F (57°C) for 28 minutes can also ensure a safe product, with proper attention to temperature and rest times.
Lower cooking temperatures can make summer sausage moister. But, it’s important to reach 160°F (71°C) to avoid food safety risks.
Remember, food-borne illnesses typically peak during the summer months. So, it’s vital to test your sausage properly for safety.
Cooling and Storage Methods
Keeping homemade summer sausage perfect needs the right cooling and storage. After cooking, wrap each log in aluminum foil tightly. Then, refrigerate it right away. This keeps the sausage safe and its texture just right.
Homemade summer sausage stays good in the fridge for up to two weeks. For longer, freeze it. Just wrap it well in airtight packaging before freezing.
Water activity, or aw, is key for sausage storage. Cooked sausages should have a water activity of about 0.95aw. This stops harmful bacteria from growing. Fresh foods have a higher water activity, while dried meats and cheeses have less.
| Product | Water Activity (aw) |
|---|---|
| Fresh meat, fruits, vegetables | 0.97 aw |
| Cooked sausages | 0.95 aw |
| Aged cheeses, cured meats | 0.93 aw |
| Dried meats, fermented sausages | 0.85 aw |
Knowing how to store and preserve sausage is vital. It keeps your homemade summer sausage tasty, safe, and fresh for a long time.
Serving Suggestions and Pairings
Enjoying homemade summer sausage is fun. Slice it thinly and put it on a platter with cheeses. Cheddar, Colby Jack, and Monterey Jack are great choices for a classic taste.
For something different, try a smoky Gouda. It’s perfect for game day.
Complementary Cheese Selection
Cheddar, pepper jack, and Gouda are great with summer sausage. They balance the flavors and add texture. Make sure to have pre-sliced cheese for easy serving.
Ideal Accompaniments
For a complete charcuterie board, add crackers like saltines and stone-ground wheat. They’re perfect for cheese and sausage.
Don’t forget pickled relishes like dill pickles and olives. They add a nice acidity. Arrange cheese slices to match the block for a nice look.
FAQ
What makes homemade summer sausage different from store-bought?
How can I serve this summer sausage?
What are the key ingredients in this summer sausage recipe?
Why is the meat-to-fat ratio important?
What equipment is needed to make homemade summer sausage?
What is the role of Morton Tender Quick in this recipe?
How do I properly knead and shape the sausage mixture?
How long do the resting periods need to be?
Can I smoke this summer sausage?
How do I know when the sausage is fully cooked?
How should I store and serve the homemade summer sausage?
If you liked this article, you might also like :
- Low Carb Breakfast Recipes from our Breakfast category.
- Nacho Trays from our Lunch category.
- Fajitas de Pollo from our Dinner category.
Follow us on Facebook, Instagram, Pinterest, X and Youtube for the latest news, tips, and exclusive content.

